This article would guide you on building your first Spring Boot Application. If you are new to Spring Boot and wondering how to build an application then you should continue reading.
What you will build
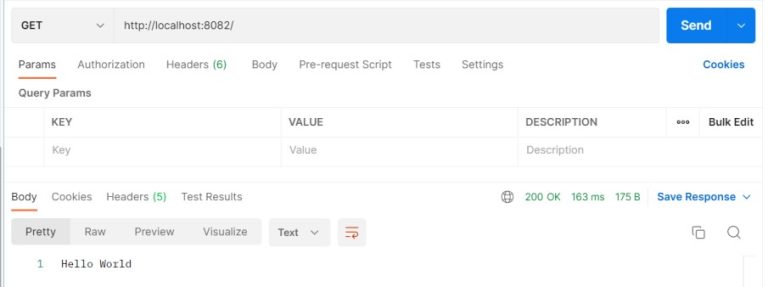
A simple web application that displays “hello world”.
What you need
JDK 1.8 and above
Maven
An IDE; using IntelliJ IDEA in this article
Getting started
When starting a new Spring Boot project, there are two options:
Start a new project using your IDE. Go to File->New->Project.
Using Spring Initialzr. This is my most preferred option because spring initialzr allows you to add all the configuration you need for the project, all you need is to download the generated zip file and start writing your code. In this project, I used Spring Initialzr.
Code Setup
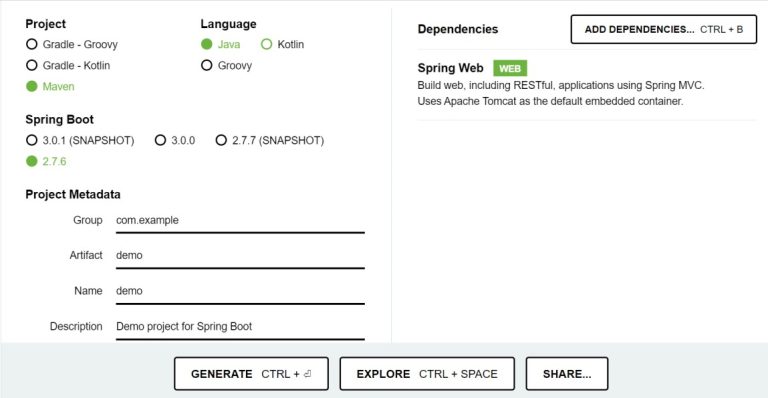
A Sample Spring Initialzr Configuration
Using Spring Initialzr, Pick Java as your language and maven for the project. I used demo for my name and artifact because this is a sample project but you can use any name. For the dependency, I would be needing only the Spring Web dependency, its the dependency needed for building web, including RESTful applications using Spring MVC.
Building the application
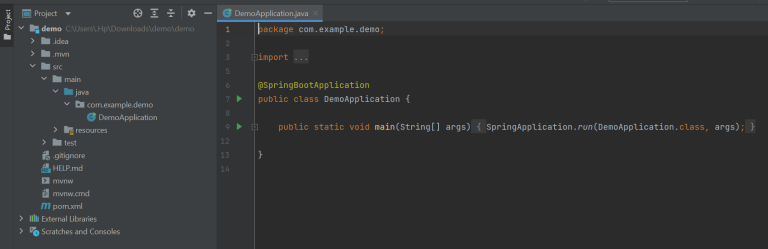
Once, you generate your project structure from spring initialzr, open the project using your IDE.
The project comes with a pom.xml file which contains your dependencies and configurations, it also comes with an Application class which is the main class for running your applications.
Web Controller
The next thing we would be doing is creating a controller class, a controller class in spring boot is responsible for processing incoming REST API request and returning the view to be rendered as a response.